Sunday, July 3, 2011

I'm back! :D

Hello! Yes, I'm still alive. After months of hiatus, I finally decided that I should try blogging again.

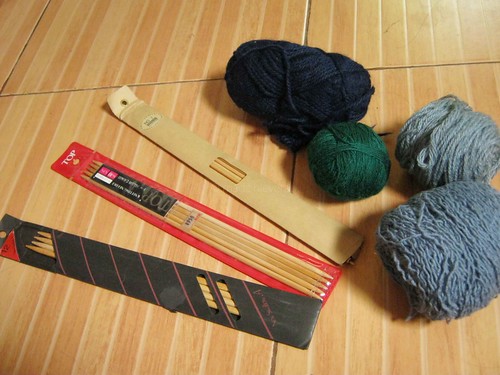
Before going on hiatus, I was knitting like mad. Its really addicting. Until one day, I started feeling pain in my hands/wrists. I never had it checked, but I feared it might be a case of carpal tunnel syndrome. I wouldn't be surprised if I did have CTS for my hands were overworked typing all day at work and knitting during breaks. So I had to give up crafting for a while. Of course I can't give up work - work means money and money means I can support myself and buy stuff that I want. My hands are ok now, but I'm still holding back a bit from crafting.


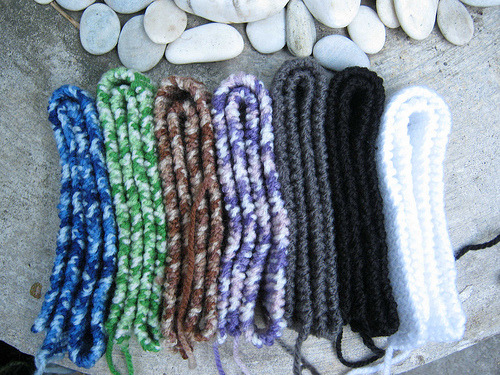
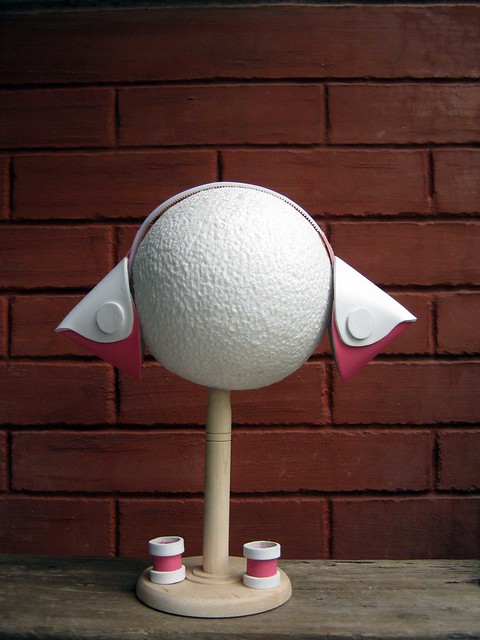
The last batch of BJD scarves I made a while back.


It doesn't help that my sewing machine, Maki, is not in good shape. I can't really elaborate on it but he has to be repaired first before I can make new stuff. Its frustrating - I've been trying to get my crafting mojo back but my sewing machine is not cooperating. Gah.


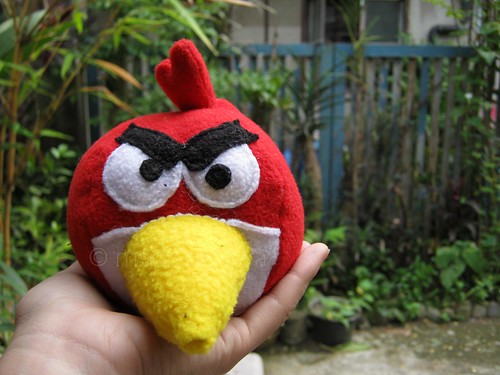
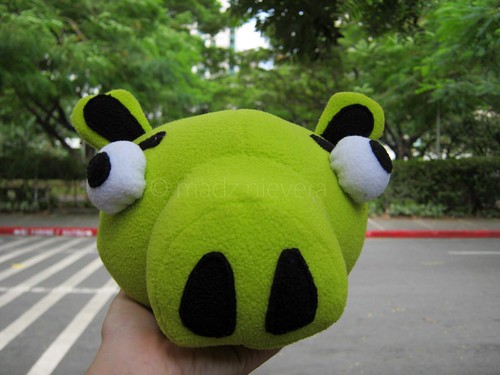
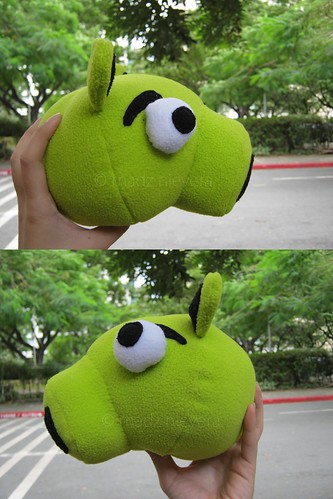
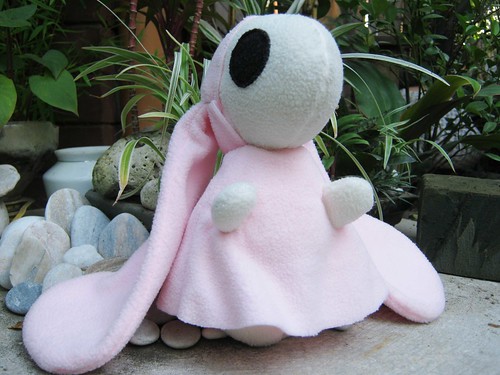
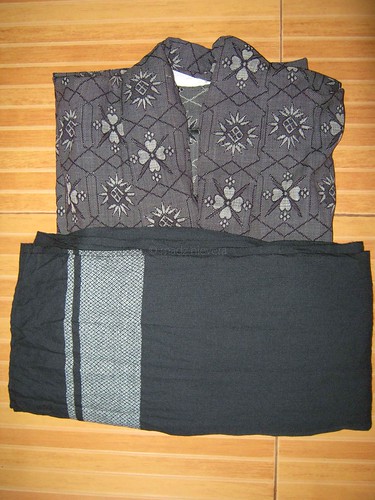
Ok, ok, I'll stop rambling now. I'm slowly getting back to crafting. I still have a list of things to make: a set of plushies for my bestfriend, a pajama set for my boyfriend's sister, a plushie for a friend and more! Sorry for the loooong wait guys! I'll do my best to make them soon. :D

***

Sunday, May 8, 2011

Plushies: Angry Birds

When I first played Angry Birds on my friend's Samsung Corby, my initial thought was they're cute had to have a  plushie version.

After googling a bit, I found a sewing blog with a tutorial on how to make Angry Birds characters!

Now I present you, Red:


And Pig:


Red was my first plushie experiment using me sewing machine, so he doesn't look that good. As for the Pi, I'm pretty satisfied with my sewing, though if I were to make another one, I would modify his eyes and make them flat. The tutorial asked for his eyes to be googly - cute but not my thing.

I already have the patterns to make the other characters. I'll try to make them when I have time. :)


Thanks for reading!

Tuesday, May 3, 2011

I can has: Atashi Plushie!

Hello! Its been a while since my last post. After doing the persocom ears post, I intended to follow it up with another Chobits-related project. Unfortunately, things got pretty busy at work so I had to postpone it for a few weeks.

Anyway, here's another plushie I made for my Chii cosplay - Atashi!


Reference picture:

photo from cosplayisland.co.uk

If you're not familiar with Chobits, Atashi is the main character in the book A City With No People (read more about Atashi here). Chii loved the book series, so I figured she would like to have an Atashi plushie for herself. 

For this project, I used light skin tone, black, pink fleece and a small amount of polyfill. One thing I really like about using fleece is that it doesn't fray - meaning I don't have to hem it. You can see above that Atashi's skirt is not hemmed.

I will be making Atashi's partner, Anata, soon when I have time. For now, Atashi enjoys the company of 10 other plushies on top of my bed. XD


Want to have this plushie? Just leave a message here or send me an email at madz.nievera@gmail.com for inquiries.

Thanks for reading!

Sunday, April 17, 2011

I can has: Persocom Ears!

If you're familiar with Chobits,  you'll know what persocom ears are. If you don't, go here.

I finally made myself a decent pair of persocom ears! XD For this project, I used a small amount of rubber sheet, spray paint (in white and rose pink), greco glue, and a white headband.


I read a few tutorials online on how to make the ears, then modified some details. The ears turned out to be slightly pointy compared to the original one. Plus, I should have used a lighter shade of pink (will get a can soon!).


The hair clip/tube things are simple tubes. They were pretty simple to make: just make a 1 in. tube with 3/4 in. diameter, then 1/3 in rings with slightly wider diameter for the white part.


In case you're curious about how I attach the hair clip/tube things on my wig, I simply 'thread' my wig into the clip/tube using a piece of hair elastic (just like how you use a needle threader), pull up the clip/tube, tie your wig on the spot where you want the hair clip/tube to stay using one or two elastics (just make sure that the elastics will fit inside the hair clip/tube), then pull back the clips/tubes. Make sure that the elastics are well hidden inside the tubes.


Overall, I'm pretty satisfied with my work. It still needs a few tweaks, nothing major. :D


Just for reference, here are my old (crappy) persocom ears.  They're faaaaaar from good (made them without using any tutorials), but they still did the job years ago. I still keep them for memories. :D


Thanks for reading!

Friday, April 8, 2011

Japanese Thrift Shop Haul


Note: This was already posted on my Tumblr page. I got too excited to write about these that instead of just posting pictures, I ended up writing a short blog. XD

A year ago, my friend Sayou and I were browsing through a thrift shop when I spotted an authentic Japanese kimono! I instantly bought it, only to realize that it was a child's kimono. Since then, I promised myself that I will buy/make myself a kimono (in my size).

I did attempt to make one - but I never got to finish it. I still have the fabric though, and I'm planning to give it another shot this coming Holy Week (4 day vacation huzzah!). But I was able to find myself an authentic kimono in my size a few weeks ago. :D

My short Tumblr post starts here:


Japanese thrift shop haul from a few weeks ago. 2 kimonos, an obi, 3 sets of double pointed (?) knitting needles in 7, 10 and 12, and a few balls of yarn.


The knitting needles are in perfect condition, except for one size 12 needle that has a tiny bite mark on the tip. There was also a loose size 6 in the brown pack and a metal tube thing. Too bad I forgot to get the smaller knitting needle for the green yarn. The yarns are also good except for the dark blue one.


The shop didn’t have much choices on their kimonos. Most of them are heavily stained or have ugly prints/colors, so I settled for this gray one and a fire orange one. I still have to make/find a red obi for the orange.

All in all, I think it was a good haul! I’m going back in a few weeks to see if they have better kimonos. :D
Japanese thrift shop haul from a few weeks ago. 2 kimonos, an obi, 3 sets of double pointed (?) knitting needles in 7, 10 and 12, and a few balls of yarn.
The knitting needles are in perfect condition, except for one size 12 needle that has a tiny bite mark on the tip. There was also a loose size 6 in the brown pack and a metal tube thing. Too bad I forgot to get the smaller knitting needle for the green yarn. The yarns are also good except for the dark blue one.
The shop didn’t have much choices on their kimonos. Most of them are heavily stained or have ugly prints/colors, so I settled for this gray one and a fire orange one. I still have to make/find a red obi for the orange.
All in all, I think it was a good haul! I’m going back in a few weeks to see if they have better kimonos. :D

End of Tumblr post.


As I said, it was a very good find! You can't find kimonos everyday, and knitting needles are very expensive. And everything was dirt cheap too. I'm planning to use the gray and black set for a shoot sometime soon *pokes Sayou*.

Thanks for reading!

Friday, April 1, 2011

Stuff from the Past: Ruffle Necklaces

Months ago, my friend Liz of Project Vanity commissioned me to make a set of ruffle necklaces for their shop Ukay Manila. Someone e-mailed me about this set, so I figured I should do a post on them here.


I can only describe the A Subtle Romance set with three words: elegant, romantic, and feminine. For this project, I used heavy brass chains, high quality silk chiffon (if I remember it correctly), lace, and handmade felt flowers with varying button details.


Its quite tedious to work with chiffon. For a necklace like this, the chiffon should be cut to the fiber in order to achieve clean lines and to avoid too much fraying. I also used small amounts of fabric glue to secure the corners of the chiffon.


The felt flower detail was sewn by hand. I didn't use fabric glue since the felt would just absorb all the glue. I can't tell you how tedious it is to assemble each flower. If I make one mistake, I'll have to start all over again! Haha. /haggard/


I was very satisfied with how the pieces turned out and I won't mind making a few more again some time. Would you be interested in having one of these?


Thanks for reading!

(photos from here)


Tuesday, March 22, 2011

I've been Knitting (and Crocheting)!

Whenever I want to learn a new craft, I usually just research on the matter and try to self-study. This is how I learned how to sew and make props. But there's some that I can't really learn to do - knitting and crocheting. While I did 'learn' how to knit back in grade school, I never got the hang of it. My stitches are always too tight and I can't understand patterns. Knitting, meanwhile, has always fascinated me. Whenever I see someone on TV knitting, I'd say "WTF how did she make that scarf with two sticks?!"

Last PCC (Philippine Cosplay Convention), I met up with a fellow crafter Clair from CraftyCat. She patiently taught me basic crocheting and knitting over ice cream while chatting about random stuff about making and selling handmade stuff. It was fun meeting a fellow crafter!

While I initially wanted to learn crocheting so I can make amigurumis, I ended up getting a bit addicted on knitting. Maybe because they're easier to carry around - I knit on my way to work. Haha. :D Anyway, see my practice pieces after the jump!